|

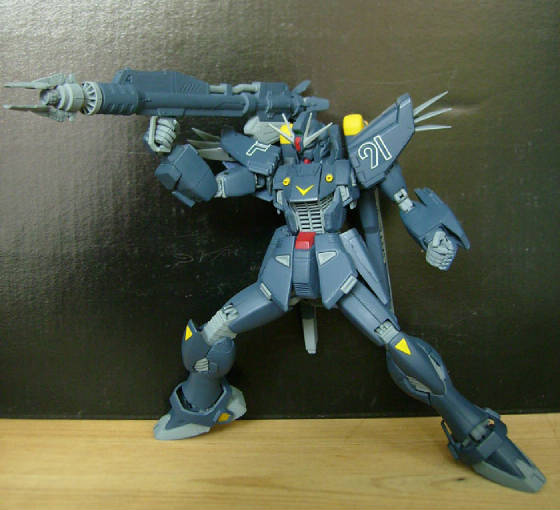
Formula Project Gundam "F91" Harrsion Martin
1/100 Master Grade Gundam F91 Harrison Martin Custom
Another long wait for this model to be done, because now I am working part time and by the
time I reach home, just feel too tired to airbrush this guy. But well, finally squeezed out the time during my off days and
weekends to finish it up. Numerous customization has been done to it to make it look more detailed. The overall mecha is ok,
but the bloody !@#$ing problem is that the joints are so tight, I almost broke the wrist joints. Still, the details are good
enough without having to paint and do any customization. Now, down to the areas which I have adjusted:
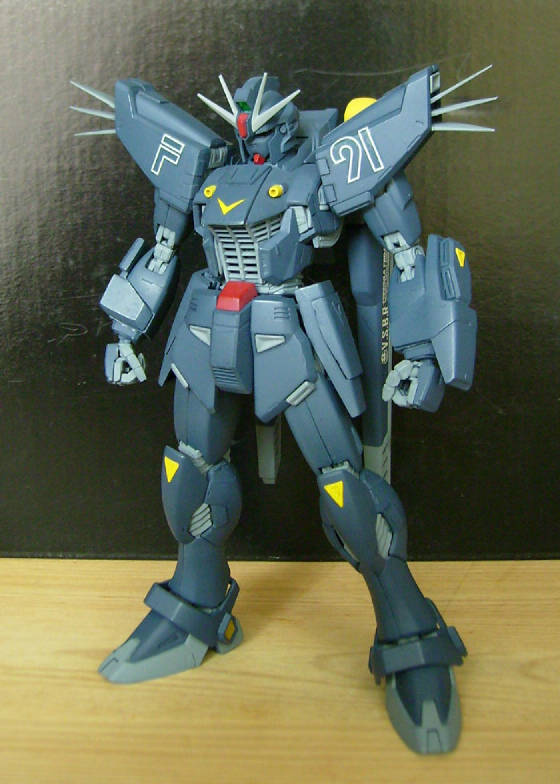
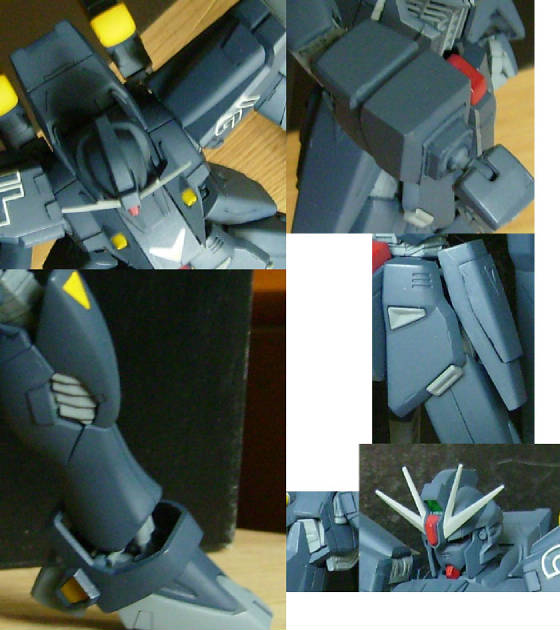
1. Head
There is nothing needed to be done to detail the head, only that the original head looks very
fat, thus I had to shift in the face to make it look better (idea from Dengeki magazine). The face is like that most probably
due to the face being able to be brought to the back for the faster heat loss idea in the anime.
2. Shoulders
Added a bit of details to the top part and the area near the chest. It is done by using plastic
sheets cut into small sizes and stuck onto it wit cement. After that, a pen knife is used to carve around the areas so that
it looks as though it is a separate part of the armor.
3. Chest
Slight modification on the upper part of the chest and the sides. Plastic sheets have been added
to the top area to make it detailed as it looks too plain. Pen knife used again to carve out the panel lines around the plastic
sheets. The side had been made deeper as the original parts look very round and 'unF91'
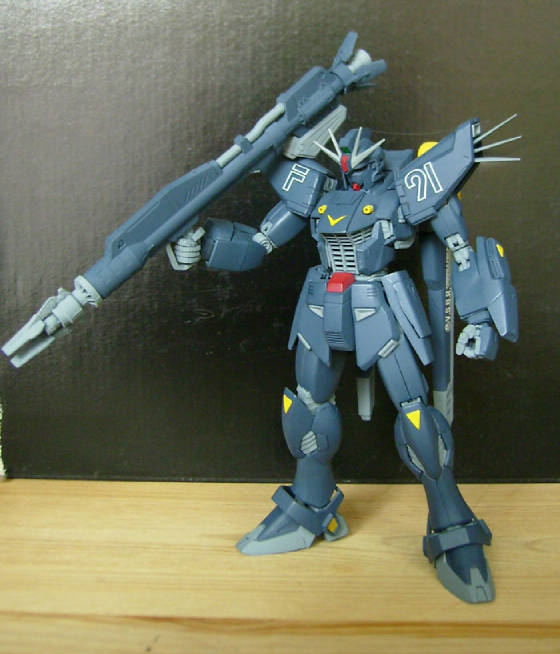
4. Right arm
The right arm armor had been thickened with plastic sheets. If it was left as it actually was,
it would look too skinny, not looking balanced as the left hand itself is quite thick already. So, the overall idea has become
to make the upper body more bulky then the lower body.
5. Skirt Armor
The front skirt armor had slight modification by carving it a bit deeper into it. The original
version looks too cartoon and unreal. The other skirt armor had their edges sanded to be more sharp then the original round
edges.
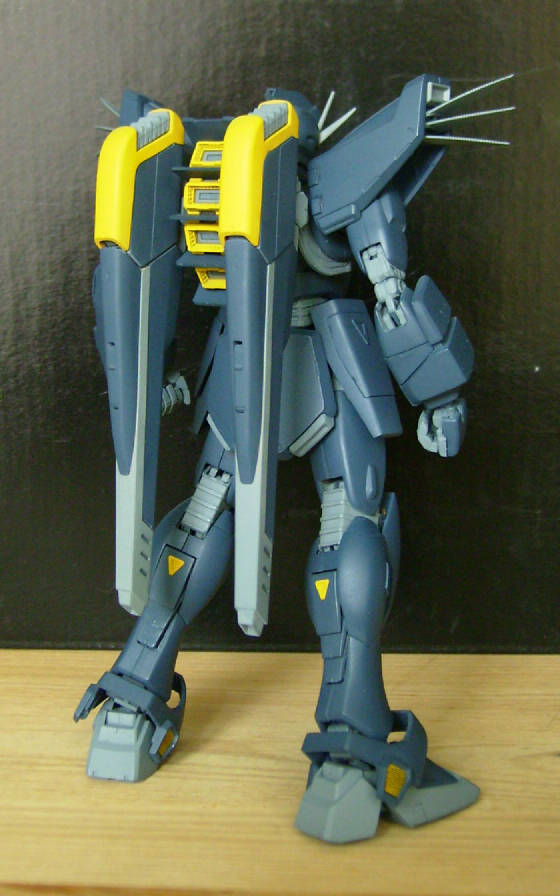
6. Calves
Plastic sheets has been added to all the calves and pen knife used to carve around it for panel
lining. Didn't want to do too much or it would look as though it has been overdone.
7. Backpack
Panel line have been carved onto the top part of the backpack to bring balance around the overall
design.
Paint used :
Blue - Flat
Light Grey- Flat
Yellow - Flat
Red- Flat
Gundam Marker Water Base is used for panel lining, Tamiya Pla-Plate, Tamiya Basic Putty, Badger
Airbrush and Mini Compressor used for the kit.
|